 By Dan Parkes (Director/editor)
Once your film is "locked" or at least almost finished you will no doubt be looking at providing it in some form -for the premiere, for preview, or possibly for sale. And this will most likely be either as a DVD or a Blu-ray disc.
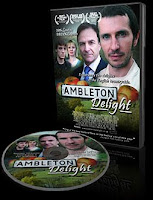
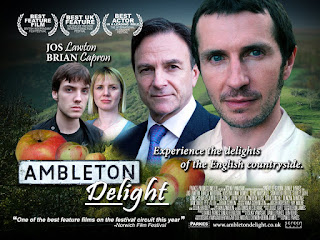
The first cuts of Ambleton Delight were mastered onto DVD using Adobe Encore. Here is our workflow and tips along the way:
1. Menu
Always have a menu -even if it is just one page- rather than simply having the film 'autostart'. The reason is that many people insert a disc before setting up channels and volume and once they have everything sorted they may have missed the first five minutes of your film! A menu is also necessary if there are chapters, audio options and bonus features. It is also a way of branding your film -it is good to use images from the film poster or production stills, rather than the default template menus. You can create menus in Photoshop and import into Encore.
2. Chapters
DVD chapters are a great idea for those who may want to jump to a certain scene in the film and provides overall accessibility. Divide the film up into as many chapters as necessary by adding markers (or these can be imported from an NLE) and create a menu option that allows the selection of the chapters. You may have to come up with some names for the chapters -and don't forget to add the opening credits and closing credits as chapters too.

3. MPEG Transcoding
DVD authoring software can automatically calculate the quality of the transcoding of your film into the MPEG format required for DVDs or Blu-ray (which can also use H.264) so that it all fits on the disc (4.3GB for DVDs or 25GB for Blu-Ray). However it can be an advantage to set this manually, as you may want for example the main feature to be at a higher quality setting than the bonus features. It can also be beneficial to create the MPEG video required for the DVD outside of the DVD authoring software so you have better control over the compression quality.
4. Bonus features
Especially if you intend on selling the DVD yourself bonus features add value to your product. These could be interviews, a making of, auditions, deleted scenes, outtakes and the trailer for the film. However be careful to ensure you have rights and clearance to use it.
5. Copyright, disclaimers and studio logo
Don't forget to add a copyright warning and any disclaimers over opinions made in commentaries and interviews. Also if you have a studio logo add that so that it plays before the main feature.
 4. Preview
Always check the DVD as much as possible making sure all the links work and the button routing is logical and easy to use. In Adobe Encore you can check this via a preview function that imitates a DVD player.
5. Image burn and verification
Rather than burning straight to DVD I recommend burning an image file (.img or .iso) of the disc first. Then you can use free software such as IMGburn (http://www.imgburn.com/) to both burn and verify (check) the disc. The reason for this is that when you need to burn extra copies you simply open IMGburn and burn the image file again, rather than opening your authoring software or having to insert the disc and make a copy. The verification function ensures you are getting the exact same copy that has been checked for 100% accuracy. You can also check the DVD works correctly by simply dragging the IMG file in to VLC player (http://www.videolan.org/vlc/).
6. Test. test, test!
Test your DVD on lots of different players and TVs, as you may find compatibility issues. Take special note of how some TVs may crop the menu and video -make sure all text etc is within safety margins!


thank you!
ReplyDeleteand God bless you!